|
glass notes photo library shop windows |
| next page |
| e-mail us |
![]()
![]()
cleaning & restoring glass
| N.B. While we believe all the information provided on these pages to be correct, we cannot be held responsible for any damage arising out of the use of any of the cleaning, repair and restoration techniques described, which are used entirely at the reader's own risk |
![]()
page 1: cleaning
|
|
|
|
![]()
![]()
![]()


![]()
|
cleaning
|
![]()
|
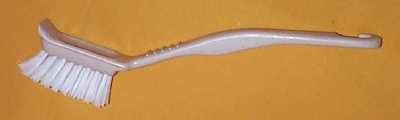
frosted glass
Frosted glass items have been exposed to the fumes of hydrofluoric acid, which destroys the normal glossy finish of glass, leaving microscopic pitting on the surface
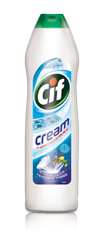
The main disadvantage of this is that the surface tends to become very grubby with ingrained dirt. The great advantage, however, is that you can go at it 'hammer and tongs' with the harshest of abrasives and things like wire-wool without the slightest fear of scratching it. Vigorous effort with 'Cif' paste and a toothbrush will get the worst off
One problem, though, is that the rough surface (being effectively like sandpaper itself), if knocked against a metal object, can pick up metallic smears which may not be shifted by normal washing methods. See page 2, repairs & restoration for how to improve these
|
![]()
|
silvered glass
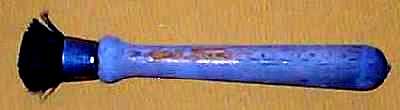
Glass which has had silver electro-deposited on the surface looks particularly unappealing when dirty, as the silver tarnishes black. Like all silver, however, this tarnish can be removed by applying any normal (preferably 'long-term') liquid or cream silver-polish on a soft cloth and rubbing vigorously. Cotton buds are good for getting into tight areas
If the tarnish is very stubborn, using the silver-polish with a toothbrush may get the worst off, before finishing with a soft cloth. Or, if you have one, use silver-polish on a felt pad in a power-drill at a lowish speed
Once it has been thoroughly cleaned, your silvered glass will probably only need a light polish once or twice a year to keep it sparkling
N.B. Sometimes the silver will not have been evenly electro-deposited over the whole pattern, resulting in thin parts which will become even more obvious once the article has been polished. Silver-polish is an abrasive, so thin patches are (unavoidably) made worse by using it. Be careful when buying to ensure the silvered pattern is a good, dense black all over
|
![]()
|
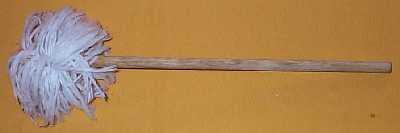
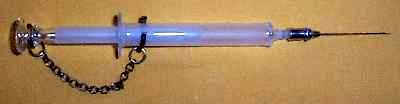
drying
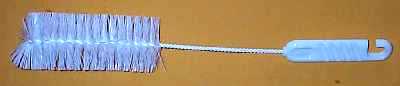
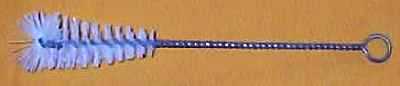
The only drying problems you are likely to encounter are when the object is, say, a narrow-necked vase, a decanter or something as fiddly as a toddy-lifter.
For narrow-necked vases, either find someone with slimmer hands than you, or simply wrap your tea-towel around a piece of wood
For bottles, decanters and similarly-shaped objects,
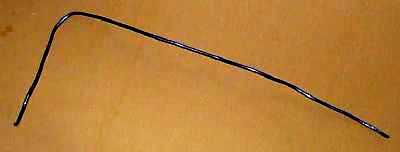
N.B. Always leave enough of your 'rope' to get hold of when you want to remove it, and take care not to twist it so tightly that it begins to tear, or you risk leaving part of it behind. If your paper 'rope' does come apart, or accidentally disappears so far inside your object that it can't be hooked out (see the 'magic bit of wire' under tools & equipment on this page), don't panic!. You will simply have to fill the object with water until the paper disintegrates and can be 'wangled' or flushed out
Some people recommend using a hair-dryer on a low setting for drying decanters, but I cannot imagine being desperate enough to risk it!
|
![]()
|
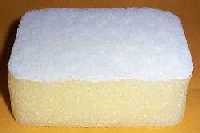
limescale
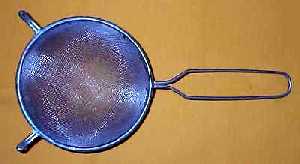
Limescale can usually be shifted by using a scourer or soapy wire-wool pad. If it is severe, use any product described as a 'limescale-remover' (such as 'Viakal' for example) with a stiff brush or wad of wire-wool, repeating the process if required (N.B. always follow the safety instructions on the bottle). However, once the piece is dried, you may well find that the glass is water-stained beneath it (see page 2: restoration)
|
![]()
|
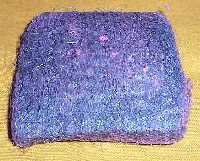
rust stains
Rust stains are caused when an iron or steel object is left in water in a vessel (often by ladies who used a ball of chicken-wire, or a patent metal stem-holder, at the bottom of a vase to arrange their flowers - sometimes when a nail, pin or paper-clip has fallen in by mistake and remained undiscovered)
These stains tend to be small and localised around the immediate point of contact with the wet metal. Although they are superficial, and do not affect the actual glass, they can be quite hard to shift using normal washing methods
I find the best method is to get the worst of the rust off by scraping it gently with a sharp knife or scalpel, then remove the rest with a wire-wool pad and an abrasive such as 'Cif' liquid. For deep, narrow vessels, you will need to sharpen the end of your piece of magic wire to a rounded 'chisel' edge for scraping, then use a stick to manipulate a piece of wire-wool for finishing-off
|
![]()
.... carry on to page 2: restoration